Do you have black mould on the sealant edges, grout or ceiling of your bathroom? You are not the only one. Mould in the bathroom is a common problem, especially in places where moisture stays for too long. In this blog, we explain step by step how to remove mould effectively and prevent it from coming back.
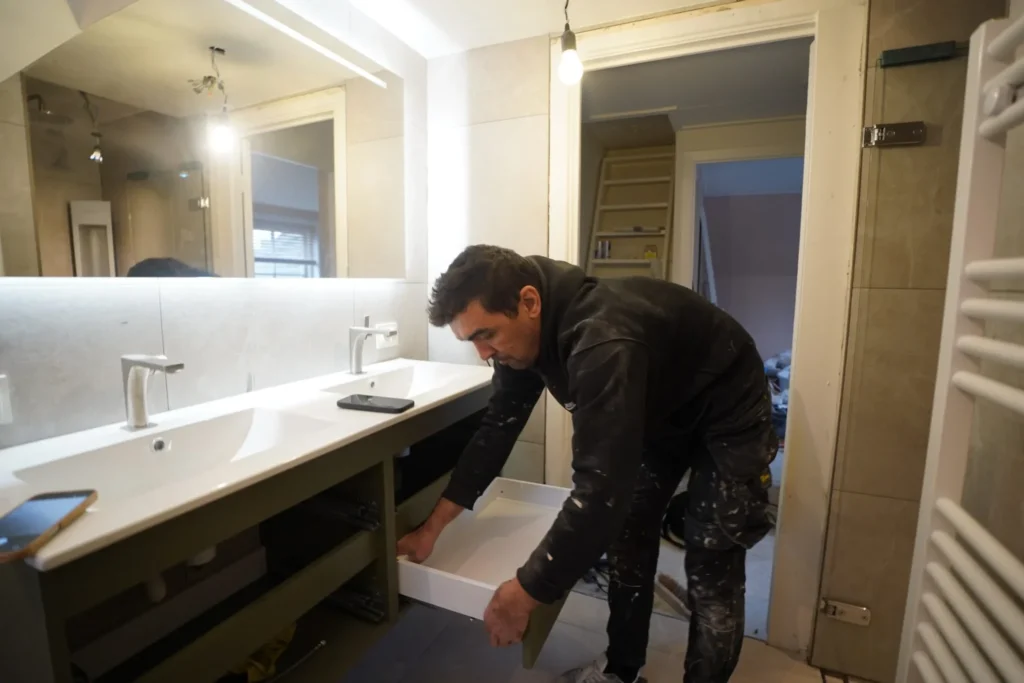
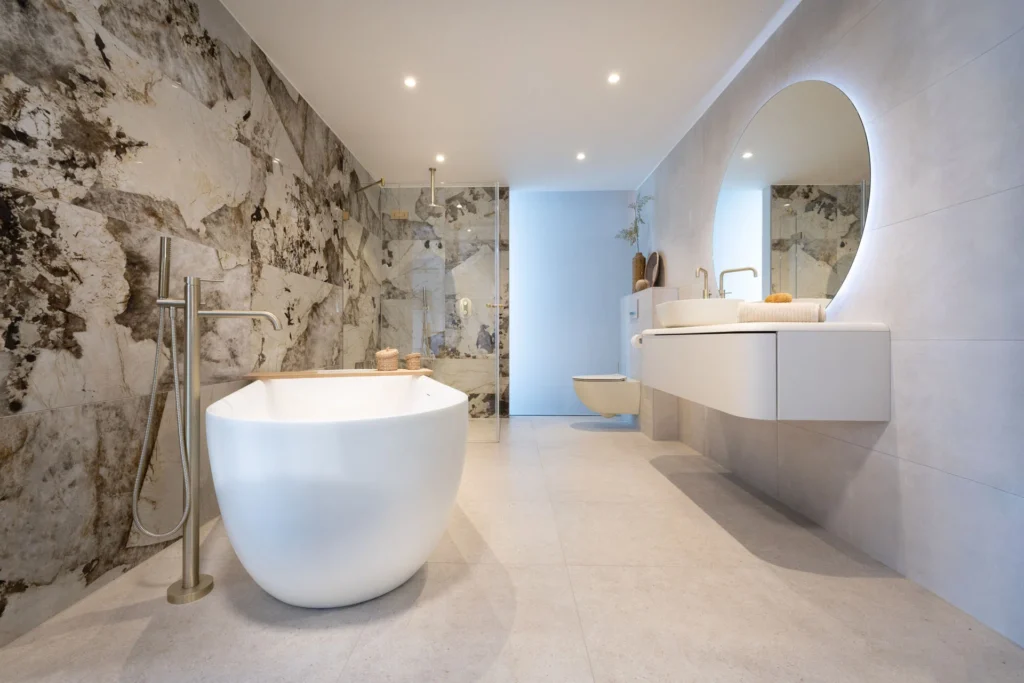
Tip: Are you renewing your bathroom? Then consider mould resistant materials. Also view our page with completed projects or contact us directly for personal advice.
How does mould appear in the bathroom?
Bathrooms are often warm and damp. This is an ideal combination for mould growth. During showering or bathing, a lot of water vapour is released. This sticks to cold surfaces such as tiles, ceilings and mirrors. If that moisture does not disappear quickly enough, mould gets the chance to grow.
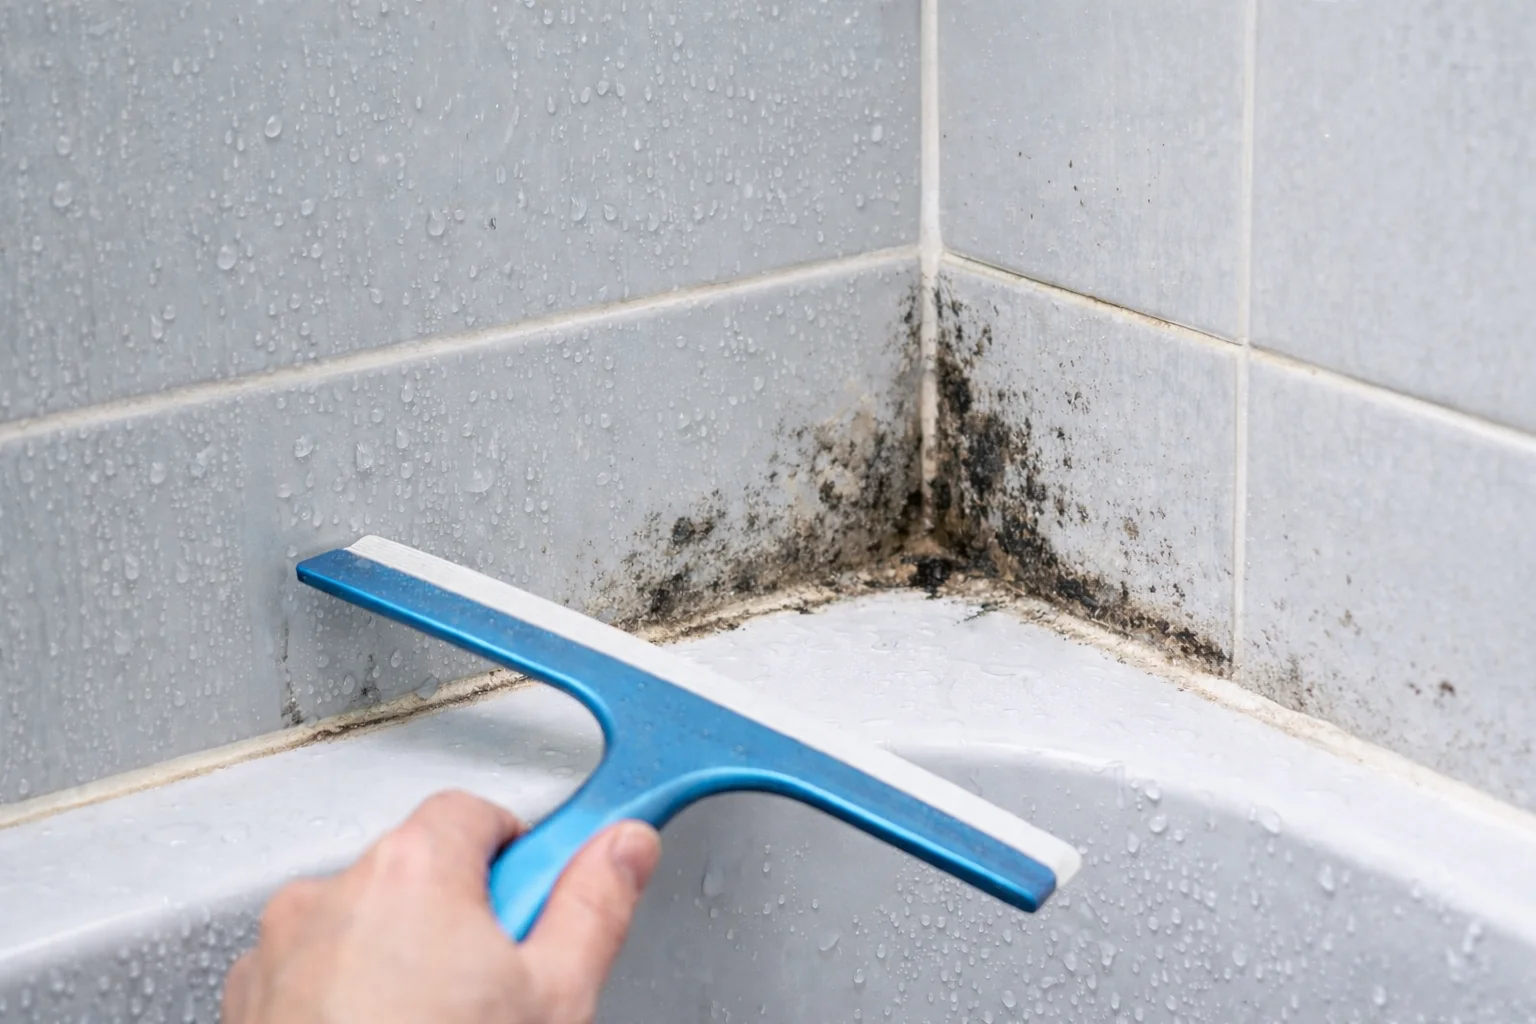
Especially in poorly ventilated corners, on silicone sealant edges, in tile grout and on the ceiling, black or brown spots can appear. The longer you wait to deal with them, the harder they are to remove and the greater the chance they will keep coming back.
Typical causes:
– Poor or insufficient ventilation
– Leaking taps or shower heads
– Old, porous grout or sealant edges
– Furniture placed too close to cold outside walls
Mould is not only unpleasant to look at, it can also cause breathing problems. That is why it is important to deal with it properly.
Removing mould in 3 simple steps
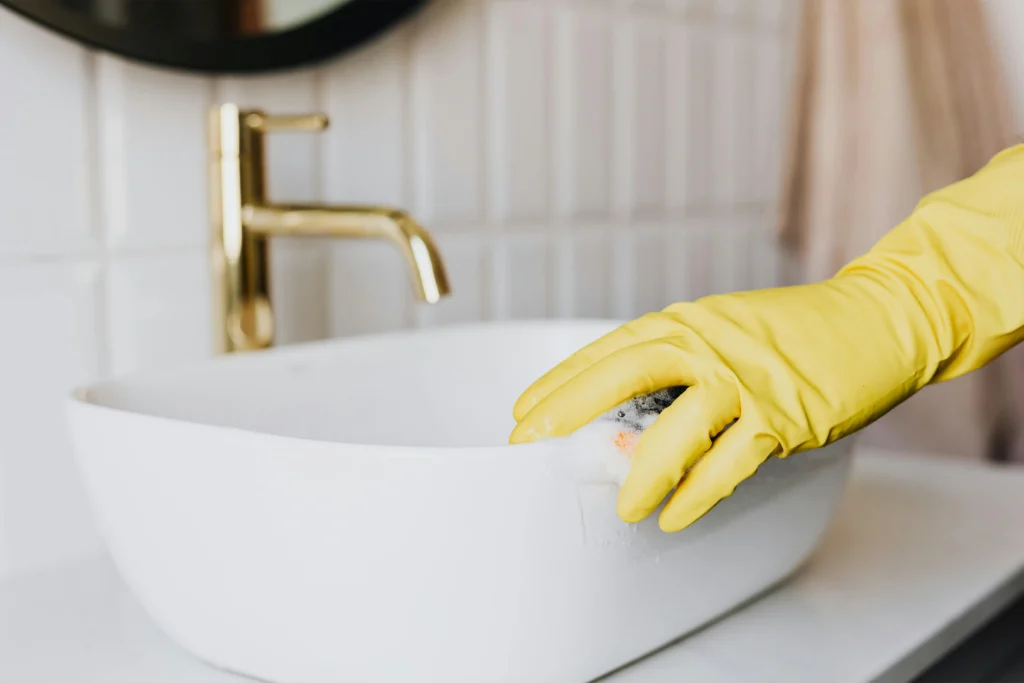
- Clean the surface
Start by removing dirt and soap residue. Use warm water with washing up liquid to pre clean the surface. This helps the anti mould product work better afterwards.
- Choose a strong anti mould product
To remove mould from tiles or the ceiling, you can choose from:
• Cleaning vinegar: a natural, mild product for light mould.
• Baking soda: mixed with water, it becomes a strong scrubbing product.
• Hydrogen peroxide 3%: effective and a little stronger, but make sure to wear gloves.
• Anti mould products from a DIY store: very effective, but often contain chlorine, so ventilate well.
Leave the product to work for at least 15 minutes. Then use a toothbrush or grout brush to scrub away the mould. Repeat for stubborn spots.
- Rinse and dry well
Rinse with clean water and dry the surface carefully. The drier your bathroom is, the smaller the chance that mould will return.
Prevent mould in the bathroom? 5 smart tips
Prevention is always better than cure, and that is certainly true for mould in the bathroom. Luckily, with a few smart habits and practical changes, you can prevent a lot of problems. These are our five best tips to give mould no chance.
- Ventilate actively
Use a good ventilation system or open a window every day, especially after showering. This prevents condensation and mould growth.
- Remove water after showering
Use a squeegee for your shower wall and tiles. This prevents moisture from staying behind.
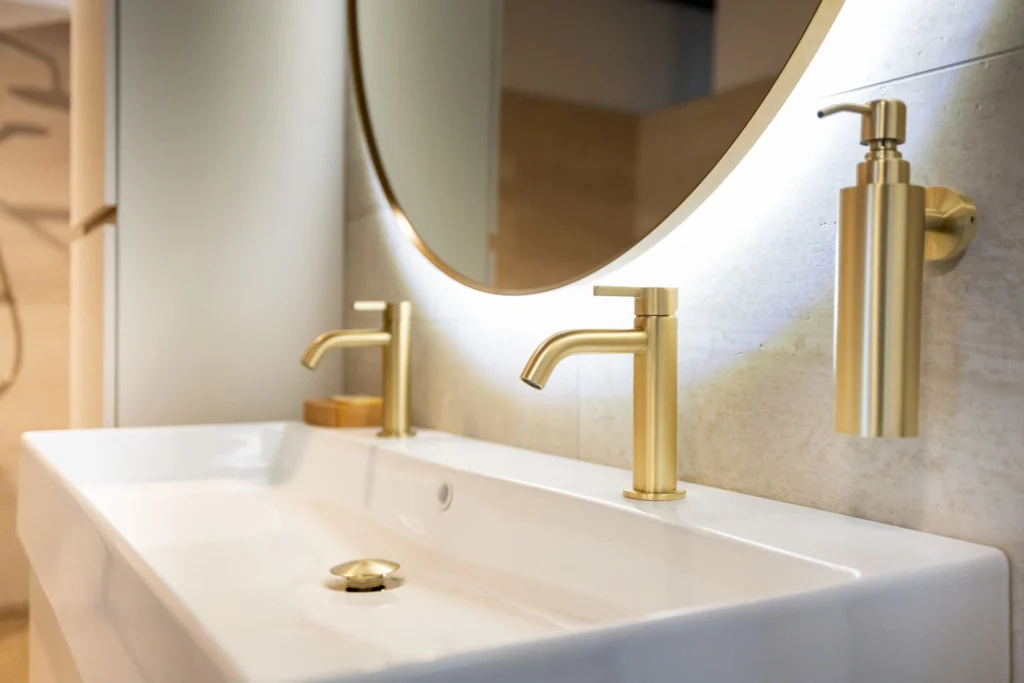
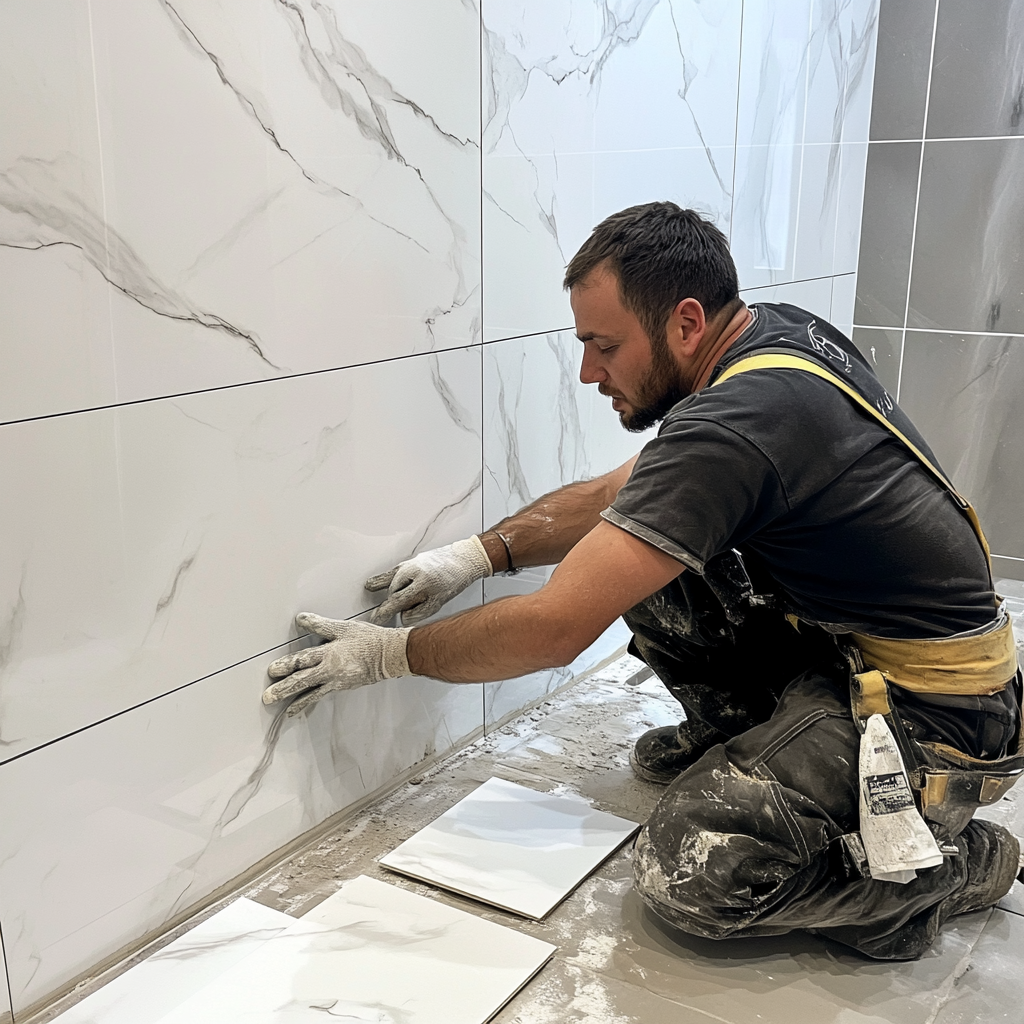
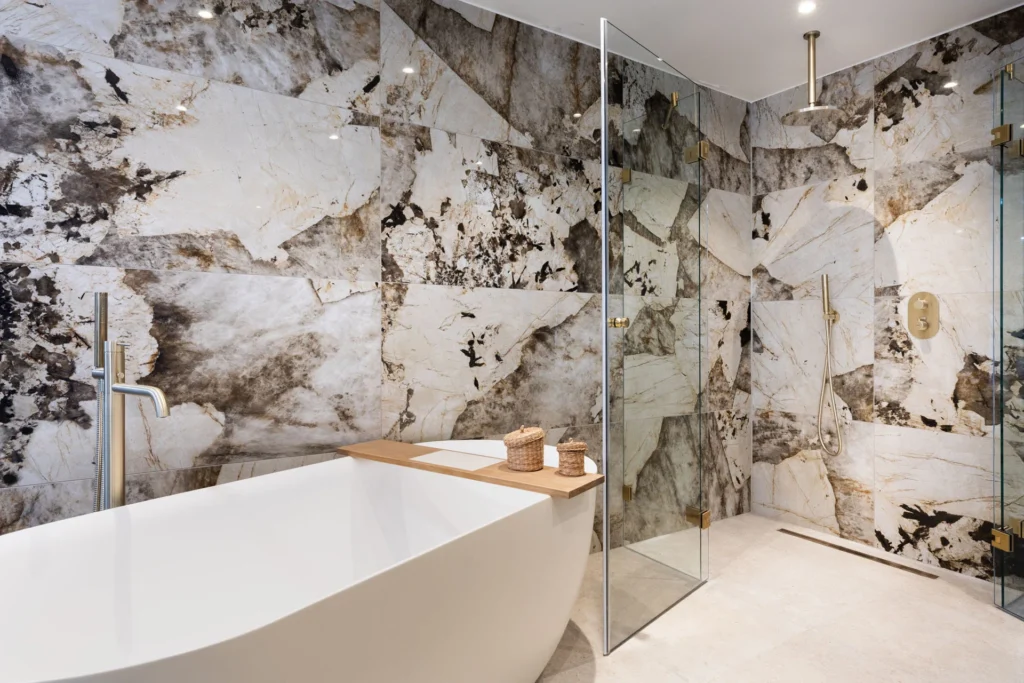
- Choose mould resistant materials
During renovations, there are many materials with extra protection against moisture and mould, such as seamless wall panels or epoxy grout.
- Have your sealant edges checked regularly
Is the sealant old, discoloured or damaged? Then it is time to replace it. Our projects show what a new finish can do.
- Choose a smart layout
A well designed bathroom allows air to circulate and prevents moisture build up. View our tips for bathroom layouts for inspiration.
Does the mould keep coming back?
If mould keeps appearing, even after proper cleaning, there may be a deeper problem: poor ventilation, outdated materials or a hidden leak. In that case, it is smart to ask an expert for help.
At JouwDroomBadkamer, we are happy to think along with you. Whether you want a small change or a complete new bathroom layout, we provide a solution that suits your style and prevents moisture from getting a chance.
Discover how we can make your bathroom fresh, healthy and mould free. Book a free advice meeting or view our projects with smart solutions.